
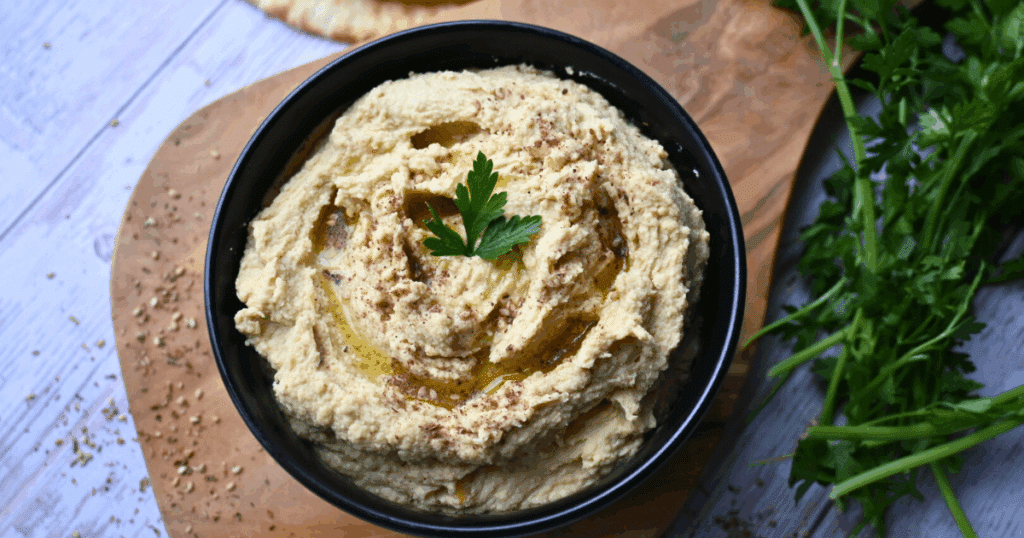
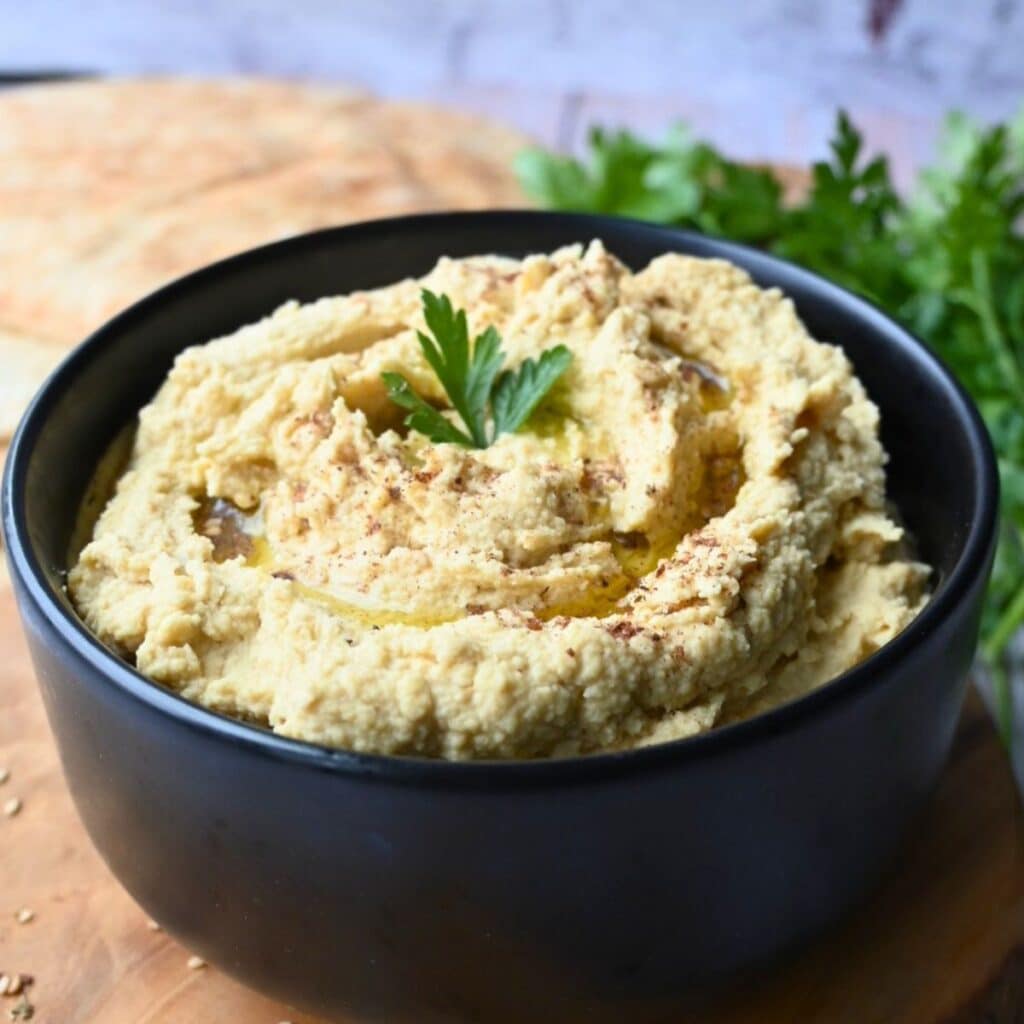

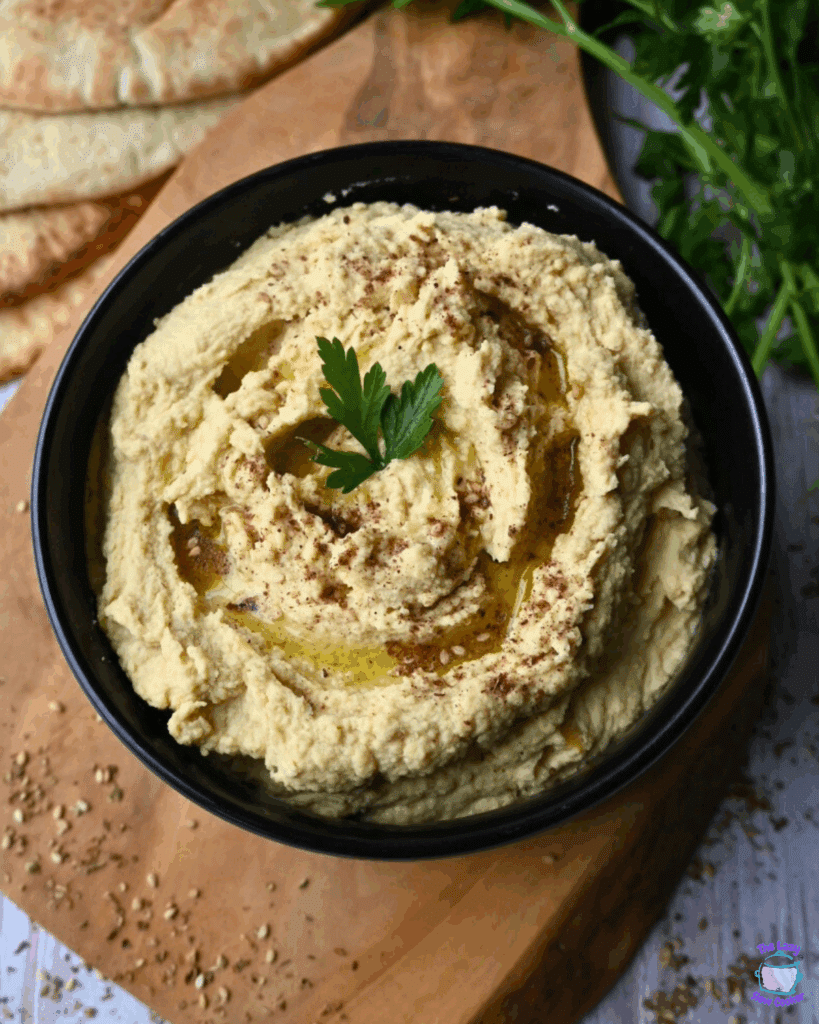

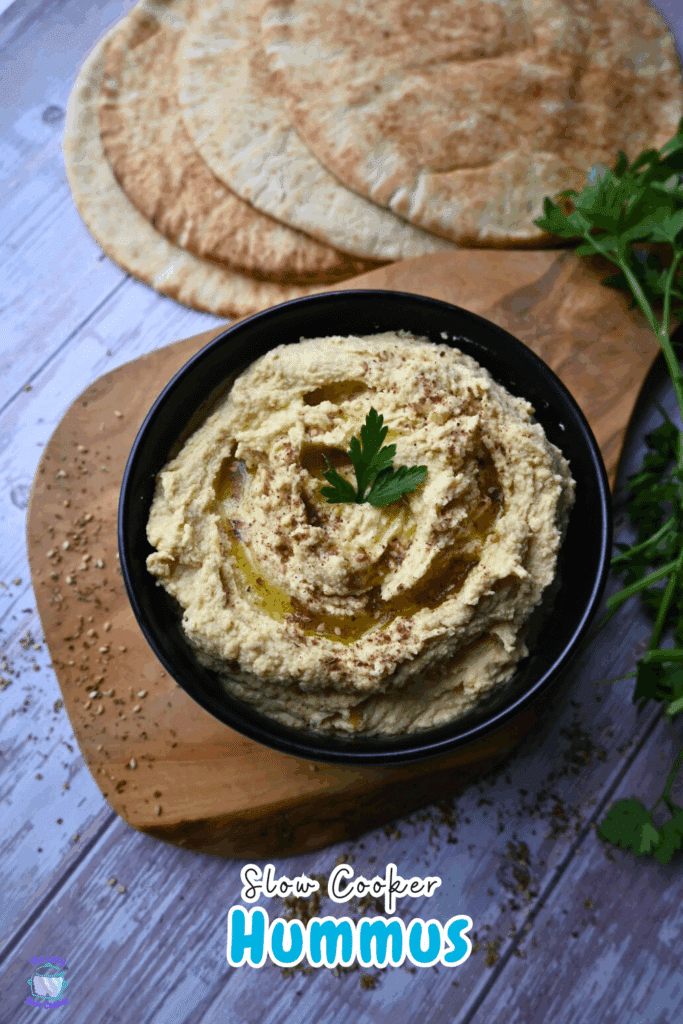
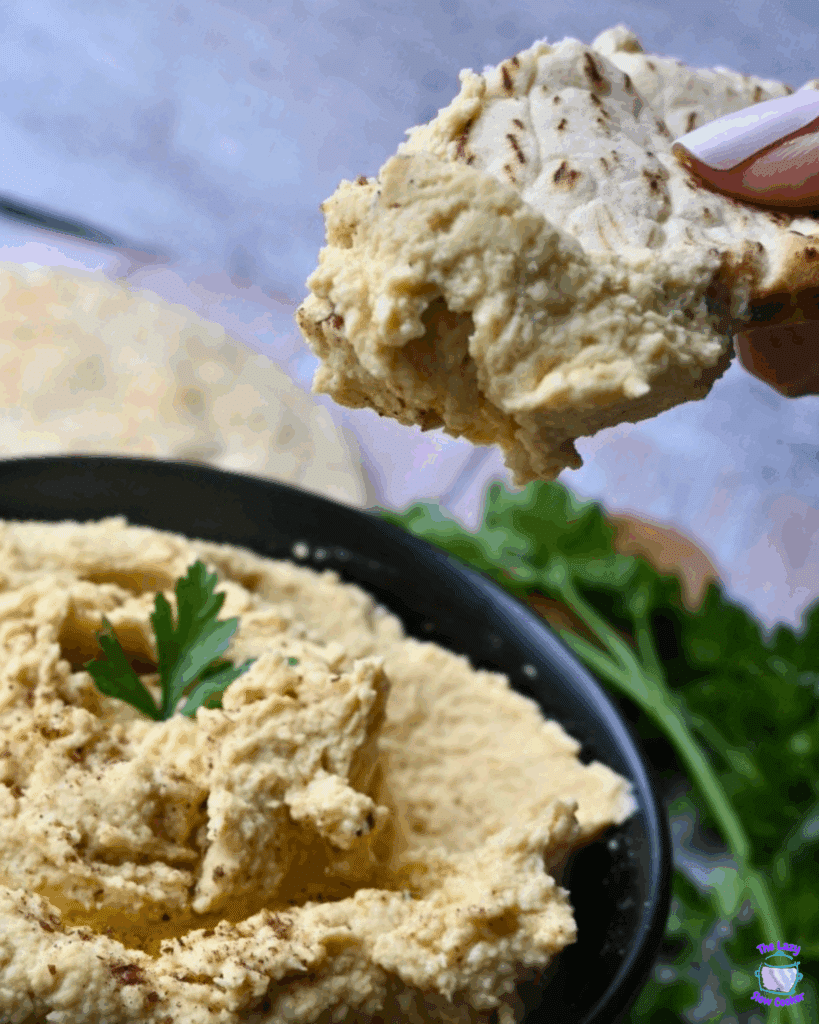
This Slow Cooker Hummus recipe is about to change the way you prep your favorite dip! Dried chickpeas are slow-cooked until ultra-soft and then blended with just the right ingredients for dipping perfection. This recipe is budget-friendly, freezes well, and is made all in one pot.

As an Amazon Associate, I earn a small amount from qualifying purchases and affiliate links at no additional cost to you.
Jump to:
📝Ingredient shopping list
This is a list of the ingredients you'll need to make this slow cooker dip recipe. For quantities and full preparation instructions, please see the recipe card at the bottom of this page.
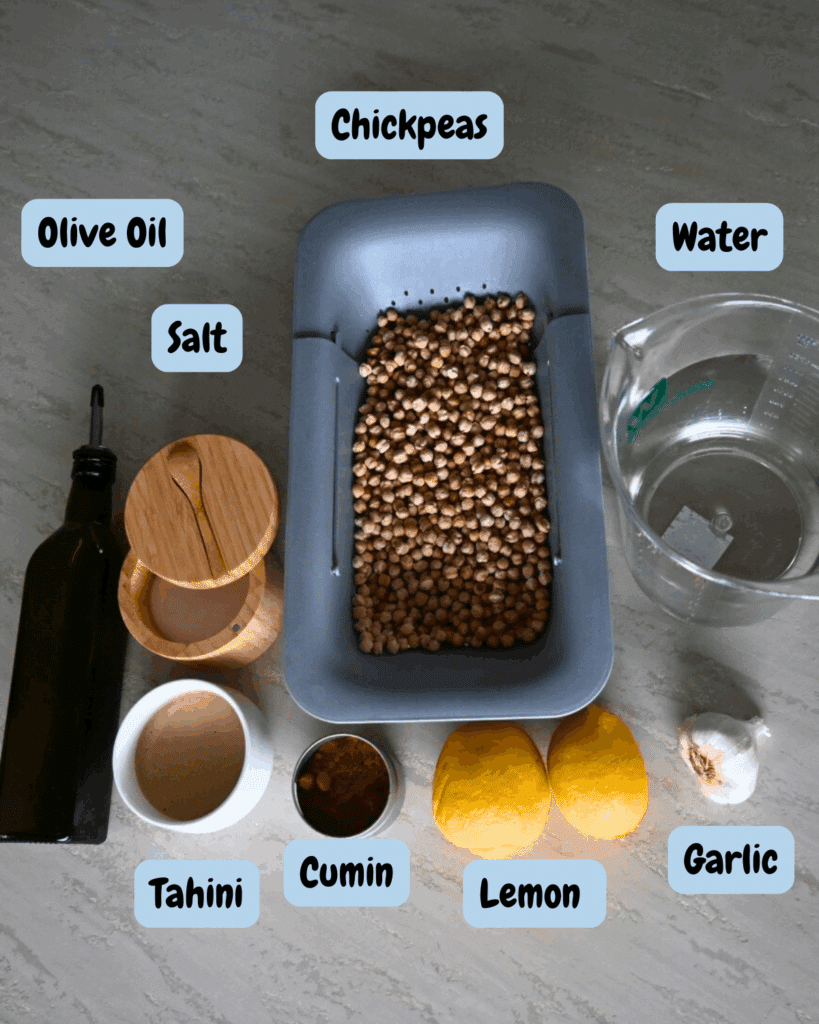
To Cook Chick Peas
- dried chickpeas
- water and salt
To Make Hummus
- Tahini
- Lemon Juice (I like fresh squeezed, but bottled works well too)
- Fresh garlic cloves, salt, and ground cumin
- Olive oil
- Ice water
💜Why make hummus in a slow cooker
- No soaking required. Dried garbanzo beans (also known as chickpeas) require approximately 8 hours of soaking, followed by 30-40 minutes of stovetop cooking. Your crock pot takes care of both of these steps!
- No cans. Dried beans have better flavor and less salt than canned beans. It is naturally vegan and gluten-free!
- Better flavor. Freshly cooked beans have a richer, creamier, and nuttier flavor
- Budget-conscious - Dried chickpeas go a long way! One bag makes a lot of hummus, and leftovers freeze really well
🎥Watch how to make it
Preparing Your Slow Cooker
Even though this dish is made with a lot of water at the start, I still recommend coating it with a non-stick agent. Olive oil is best with this recipe.
Alternatively, you can choose to use a slow cooker liner.
Cooking The Garbanzo Beans
🫘 Add rinsed beans, salt, and water to your greased slow cooker. Cover and cook on high heat for 4-5 hours or on low heat for 8-10 hours. This is a great step to take overnight!
- 🫘 The goal is to overcook the beans slightly. They are ready for the next step when they are easily smashed with the back of a spoon or with your fingers
- 🫘 Drain water and chick peas in your slow cooker
Making Beans Into Hummus
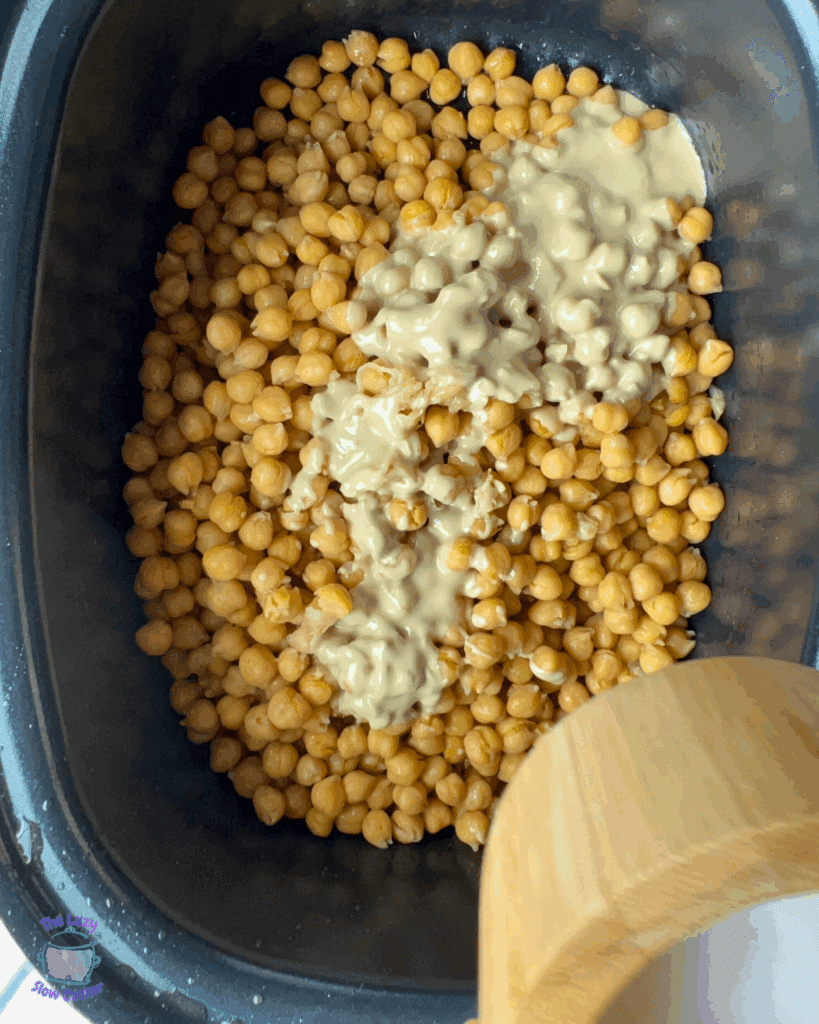
- 🫘 Add all other ingredients to slow cooker along with the beans.
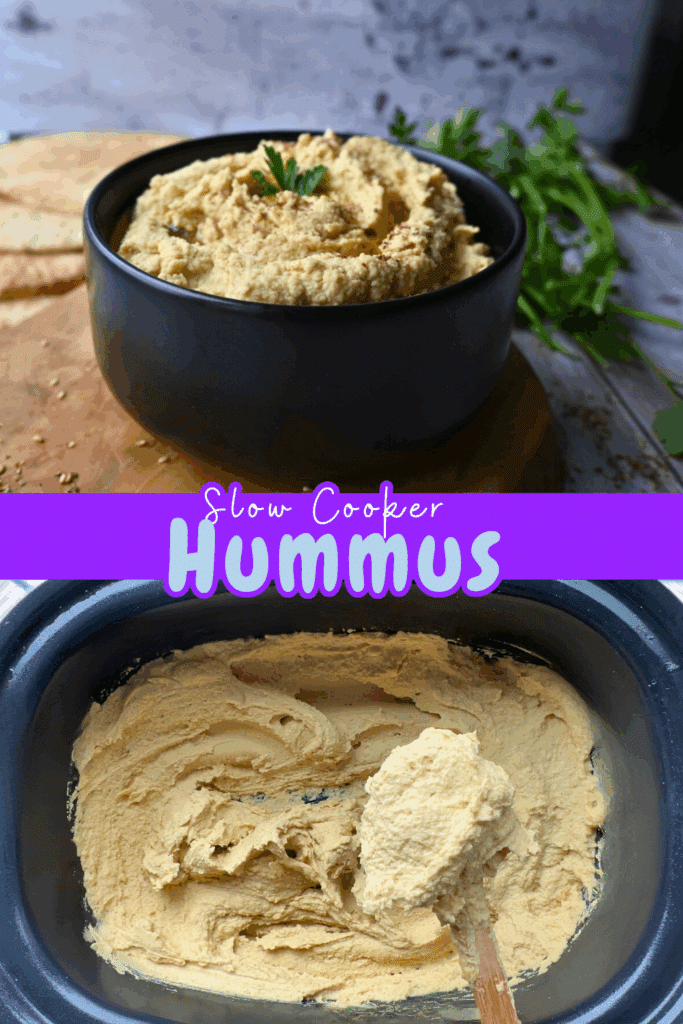
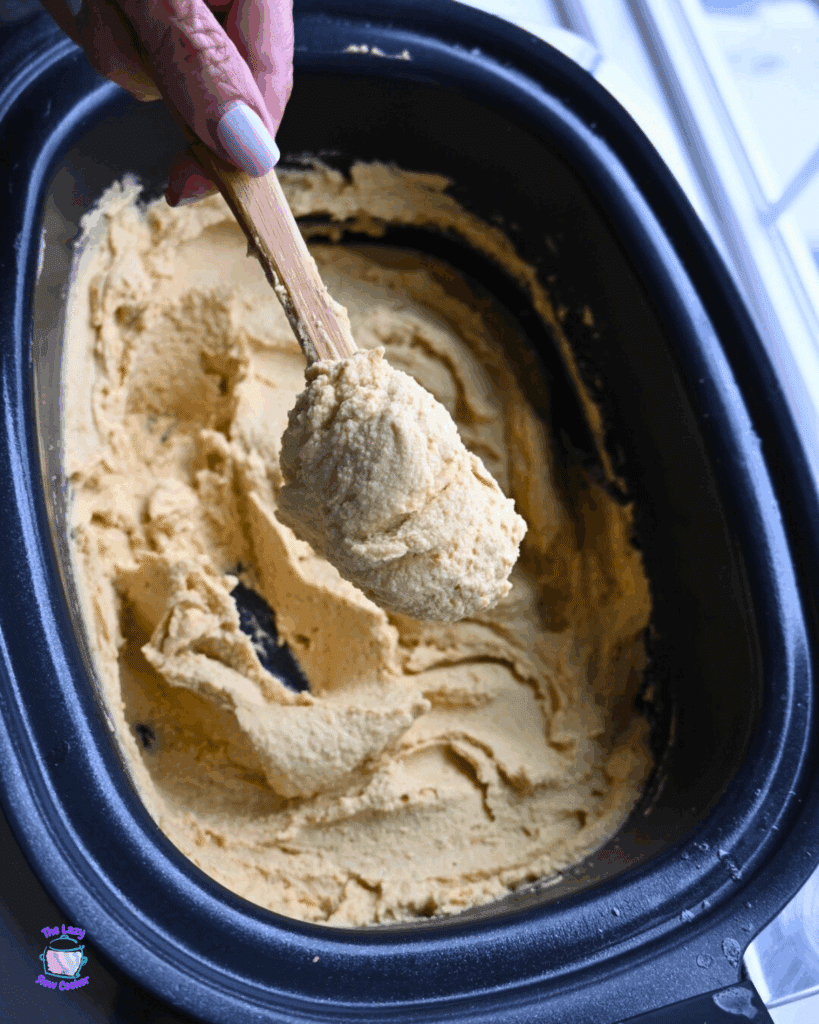
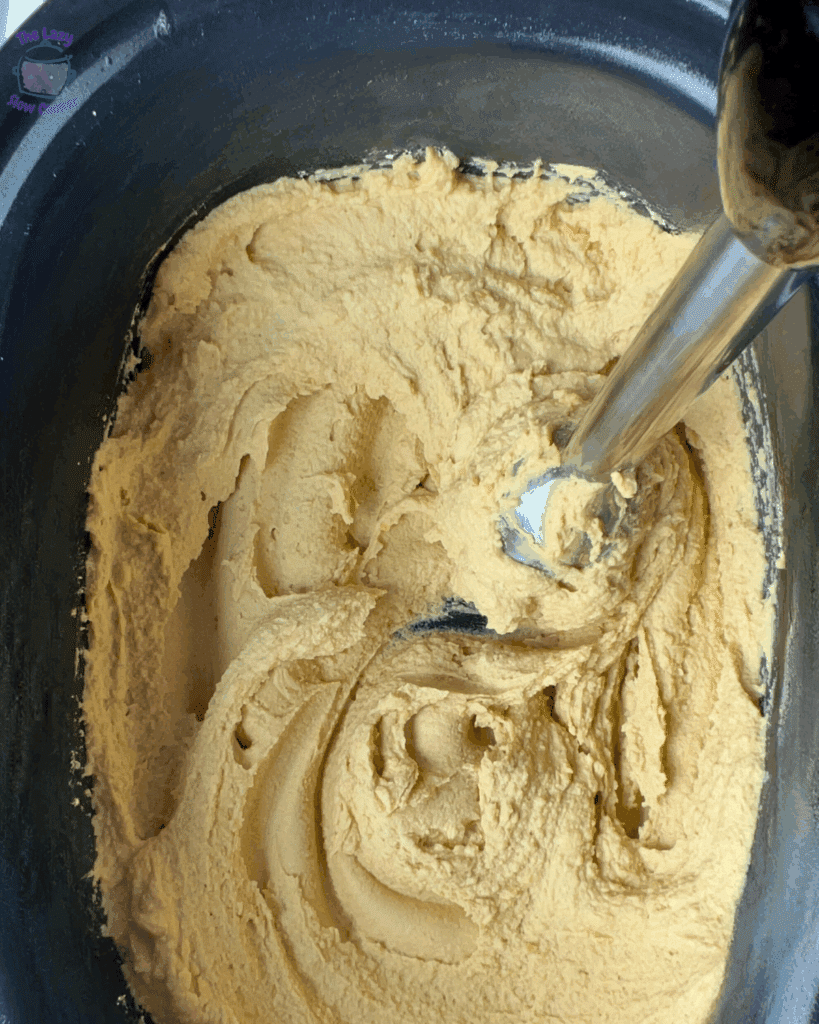
- 🫘 Using an immersion blender, combine all the ingredients. Use a rubber spatula as needed to scrape down the sides of the slow cooker and immersion blender.
- 🫘 Once the creamy chickpeas are fully blended, start adding ice water a few tablespoons at a time. Continue blending until hummus is as creamy as you like. For reference, I usually add between ¼ and ½ cup of ice water.
- 🫘 Taste and adjust salt, lemon, and cumin if needed. Black pepper can be added to taste too based on your preference.
If you don't want to use an immersion blender, you can transfer the beans into a food processor and proceed from there.

🍽Serving ideas
- This better-than-store-bought hummus deserves some better than grocery store side-kicks My favorite homemade additions are Orange Infused Olives, Homemade Baba Ghanoush, and freshly roasted peppers. Tzatziki sauce and feta cheese are perfect additions as well.
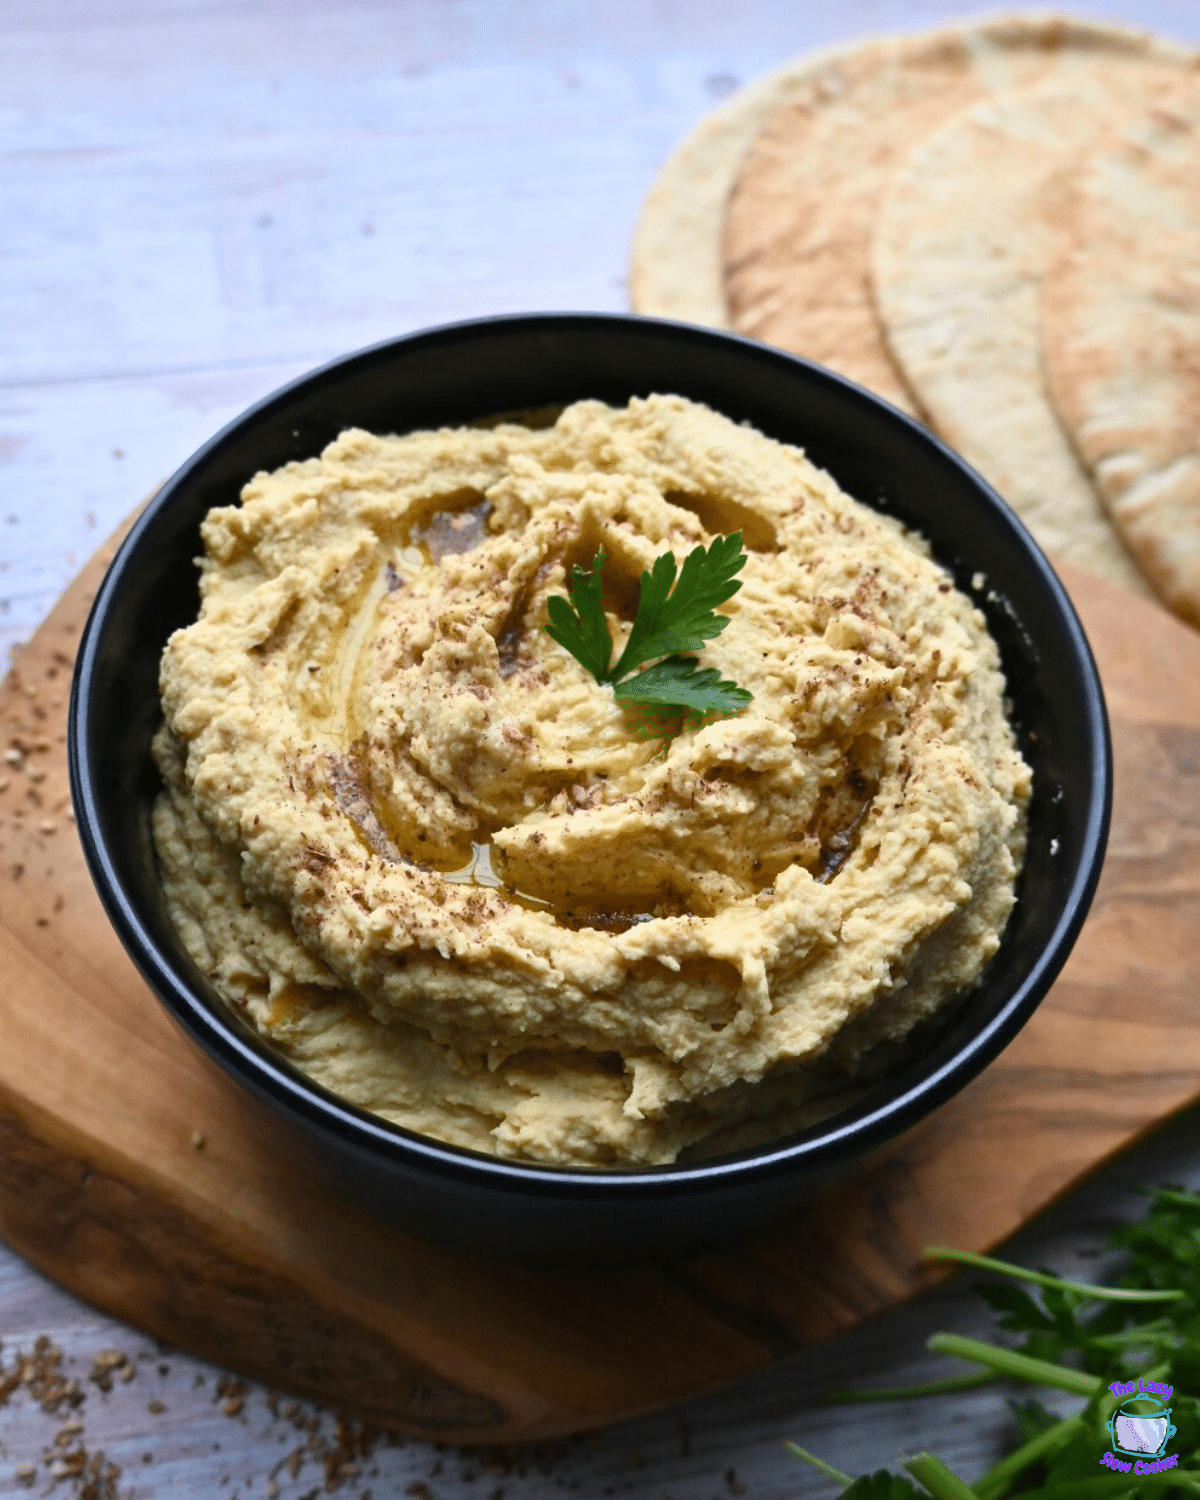
- Top with a good quality olive oil, toasted pine nuts, and a sprinkling of Zaatar
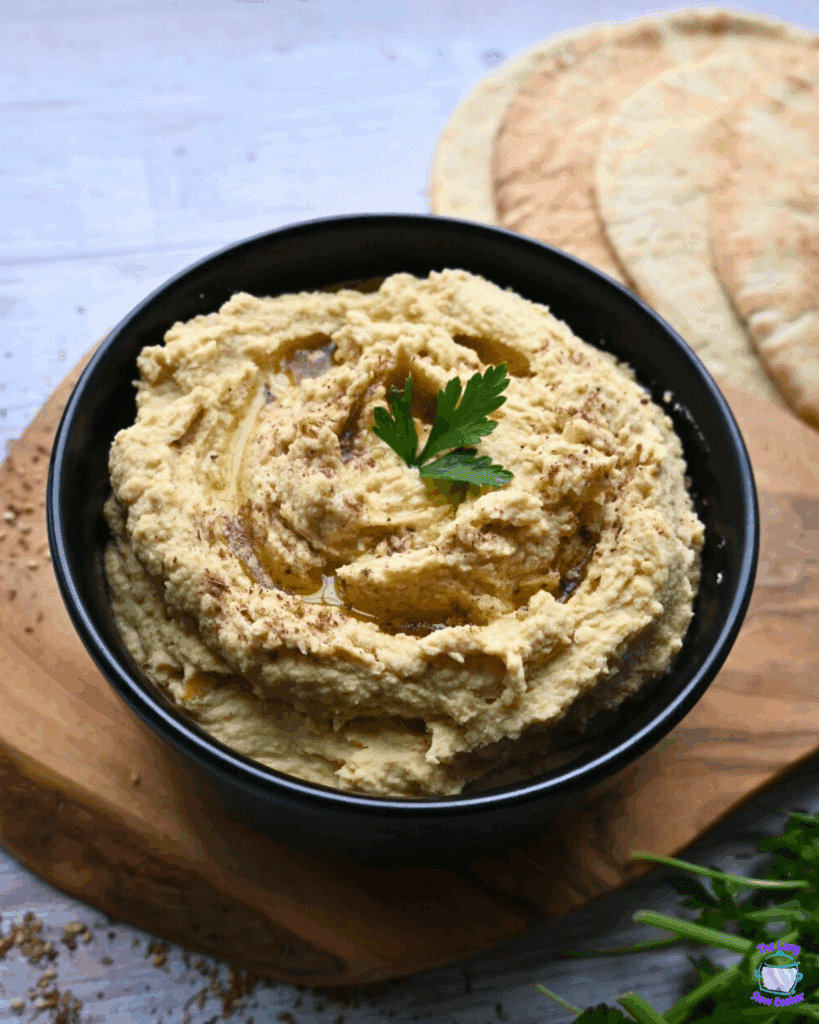
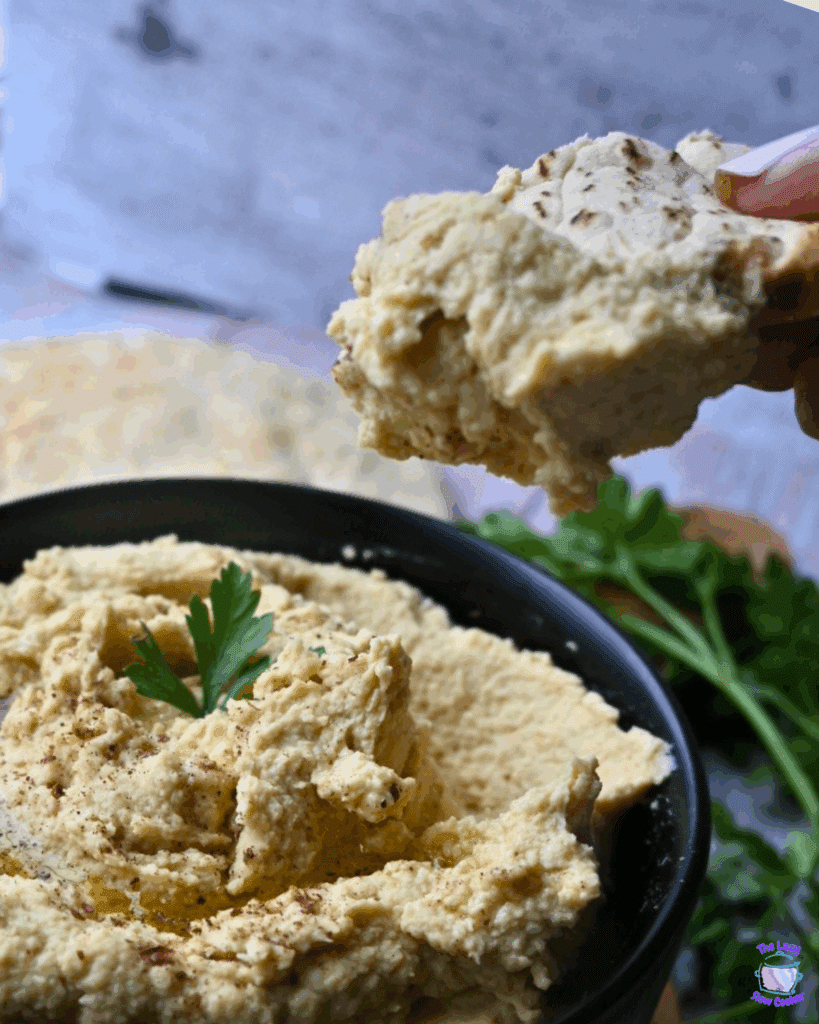
- Dip Fresh vegetables, warm pita bread, or pita chips into this easy recipe.
- Use your own hummus as a spread on sandwiches, wraps, and lettuce cups
- Scoop smooth and delicious hummus into quinoa bowls with roasted veggies.
- Dollop onto salads as a creamy (dairy-free!) dressing alternative.
Want to save this recipe for later?
🔁 Flavor variations
- Red pepper hummus - add freshly roasted or jarred red peppers to this crock pot hummus recipe prior to blending.
- Harrissa garlic hummus - for when you want to spice things up!!
- Spinach and artichoke hummus - hummus and veggies all tied up together!
- Olive hummus - a flavorful treat!
Storing
Refrigerate leftover homemade hummus in an airtight container. It will stay fresh for up to 7 days.
If you want to store your hummus recipes longer, freeze in freezer-safe containers for up to 3 months. For best results, allow frozen hummus to thaw overnight in the refrigerator before serving.
Frozen hummus texture may change a bit. Be sure to stir well before serving.
If you love this recipe...
Please let me know in the comment section below!
😉Hints & hacks
- Some recommend removing chickpea skins before making hummus. I am way too lazy for that. If some happen to come off during the cooking process, I discard them. Otherwise, the skins should blend perfectly into the finished product.
- Although I am a huge fan of slow cooker liners, I recommend against using them for the second half of this recipe. It is very easy to get the blade of your immersion blender caught on a liner wrinkle and ruin the entire dish.
- Looking to introduce this dish to kids? Try serving it with some potato chips or pretzel sticks for dipping.
- In the market for a new slow cooker? I love mine.
- Don't forget to plug your slow cooker in and turn it on! 😏
If you love this recipe...
Please let me know in the comment section below!
📖 Recipe
How To Make Hummus Using a Slow Cooker With Dried Chickpeas
(Click on the stars to leave a rating)
Print Pin Rate SaveAll nutrition information shown here is automatically generated and should be considered an estimate. If you follow a specific diet, please calculate your own values to ensure accuracy.
Equipment
- colander
- immersion blender or food processor
Ingredients
To Cook Chickpeas
- 16 oz dried chickpeas
- 7 cups water
- 1 teaspoon salt
Instructions
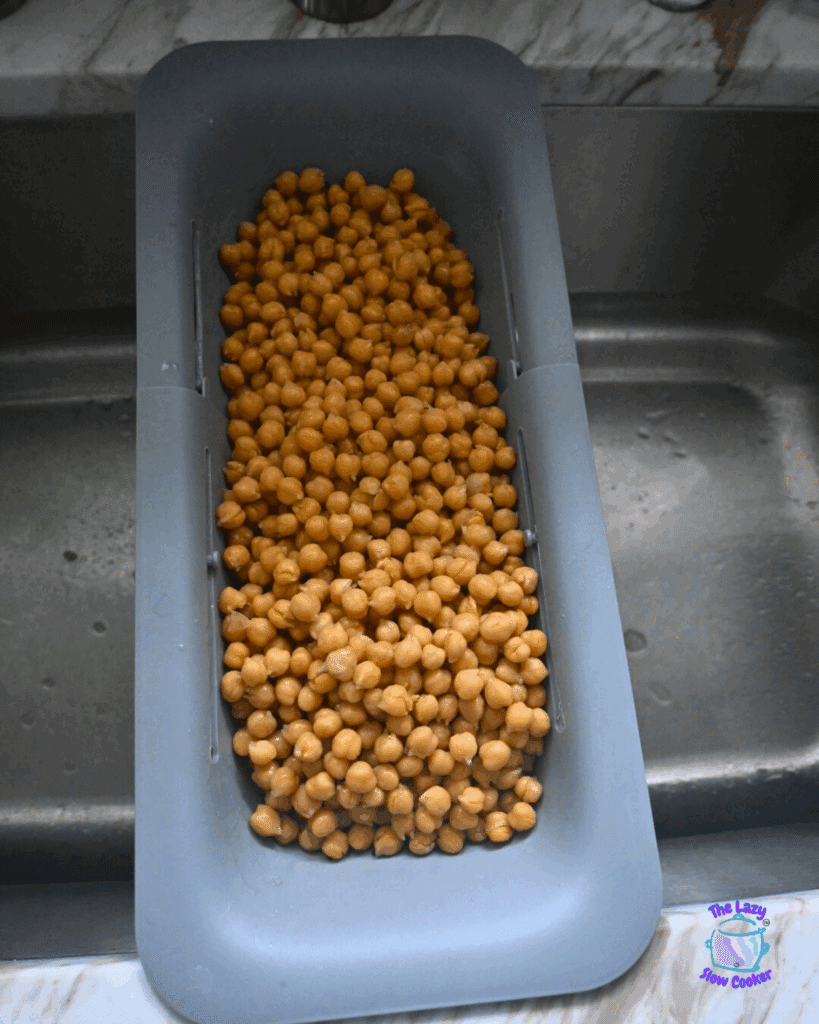
- rinse 16 oz dried chickpeas in a colander and check for stones or foreign objects
- Add rinsed chickpeas, 1 teaspoon salt, and 7 cups water to a greased slow cooker
- Cover and cook on low for 8-10 hours or high for 4-5 hours. The goal is to have overcooked, very soft chicken peas
- Allow to cool a bit and drain water from chickpeas
- If needed, re-grease slow cooker and return soft chicken peas
- Add ⅔ cup Tahini, 2 lemons, 3 cloves garlic, 3 tablespoon olive oil, 1 teaspoon salt, and 1 teaspoon cumin to chickpeas
- Use a strong immerson blender and blend all ingredients in slow cooker until smooth.
- To make your hummus creamier, add a few tablespoons of ice water* at a time, blending in between until the desired consistency is reached.
Final Step
If you love this recipe, please let everyone know by giving it a star rating and leaving a comment. This will help my business to grow and allow me to keep on testing and sharing free recipes with you.😊
Video
Notes
Nutrition
All nutrition information shown here is automatically generated and should be considered an estimate. If you follow a specific diet, please calculate your own values to ensure accuracy.
Check out my latest on Instagram
Find what you're looking for:


Leave a Reply